
Best Exercises for Lower Back Pain: Stretches and Moves That Actually Help
Lower back pain is one of the most common complaints I hear from members and one of the most frustrating to deal with personally. I have a long torso and short legs, which means I am constantly fighting to keep my lower back from rounding whether I am sitting, squatting, or just standing at a counter. These are the stretches and exercises that have made the biggest difference for me and for the people I coach.
Always check with a medical professional before trying any of the suggestions below, especially if your lower back pain is severe, ongoing, or connected to a known injury.
Why Lower Back Pain Happens
Your lower back does not exist in isolation. It is connected to your hamstrings, your glutes, your core, and your hips, and a weakness or tightness in any of those areas can show up as pain in your lower back. Some of the most common causes are weak glutes that force the lower back to compensate, tight hamstrings that pull on the pelvis, a weak core that leaves the spine without enough support, and tight hip flexors from sitting too much.
Sometimes it is structural rather than muscular, and that is worth getting checked by a professional. But for most people, consistent work on mobility and strength in the right areas makes a significant difference.
The lower back is almost never the real problem. It is usually paying the price for what is not working somewhere else.
Stretches for Lower Back Pain
Psoas Release
This is my number one recommendation above everything else on this list. The psoas is one of the hardest muscles in the body to access. It runs from the lumbar spine through the groin on both sides and is heavily involved in hip flexion. When it is tight, which it almost always is if you sit for long periods, it pulls directly on the lower spine and creates pain. See the tool recommendation below for the best way to release it at home.
Cobra Position
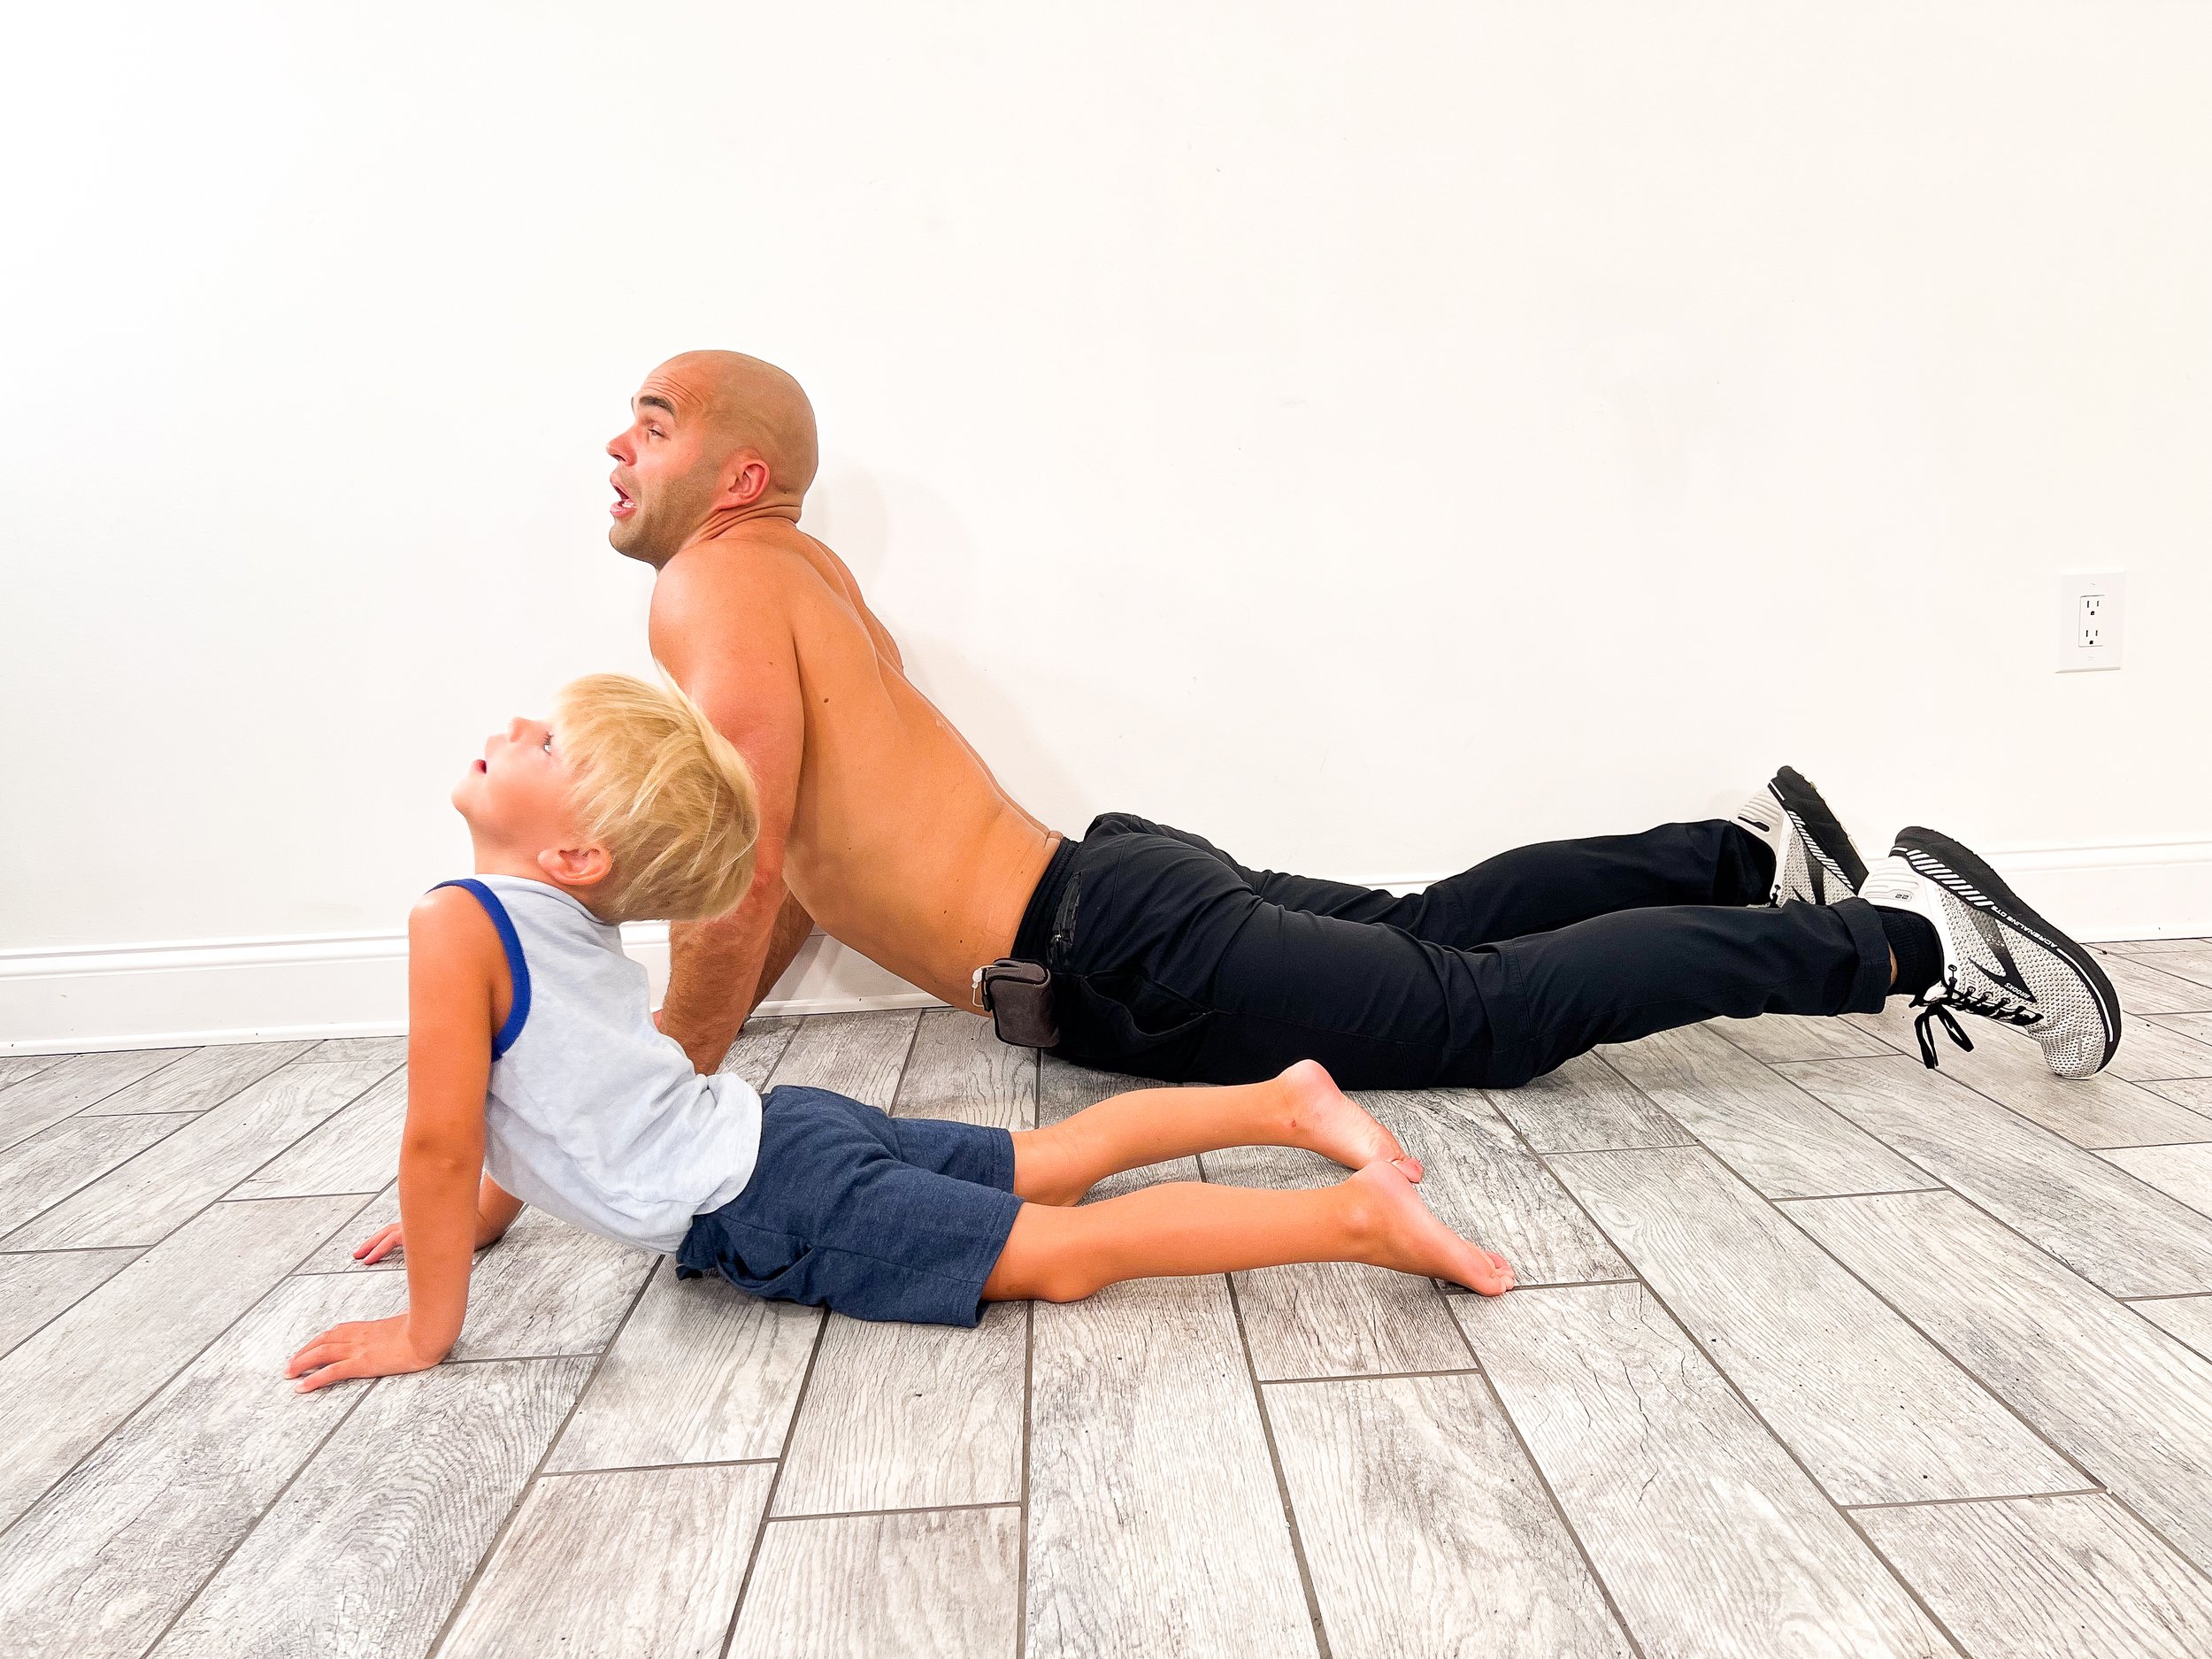
A physical therapist explained this to me early on and it stuck. Most of us hunch forward constantly, which means the lumbar vertebrae are always being pushed backward. The cobra position counteracts that by extending the spine in the opposite direction and letting gravity decompress the lower back.
- Lie face down with your hands flat on the floor under your shoulders.
- Press the tops of your feet and thighs firmly into the floor.
- On an inhale, straighten your arms to lift your chest off the floor. Only go as high as you can while keeping your hips connected to the ground.
- Press your tailbone toward the floor, firm your shoulder blades against your back, and breathe.
- Hold for 15 to 30 seconds. Release on an exhale. Repeat 3 to 5 times.
Figure Four Stretch
This stretch targets the hamstring, glute, and lower back all at once. The deep sensation you feel in the glute is the piriformis, a muscle that runs from the base of the spine to the top of the femur. Because of its proximity to the sciatic nerve, a tight piriformis is a common source of lower back and hip pain. Keeping it mobile makes a real difference.
- Lie on your back with your feet flat on the floor and knees bent.
- Cross your right ankle over your left knee, keeping your right foot flexed.
- Reach your right hand through your legs and interlace your fingers just below the crease of your left knee.
- Use your arms to gently pull your left knee toward your chest until you feel a stretch deep in your right glute.
- Hold for at least 5 breaths, up to 2 minutes. Switch sides.
Exercises for Lower Back Pain
Plank
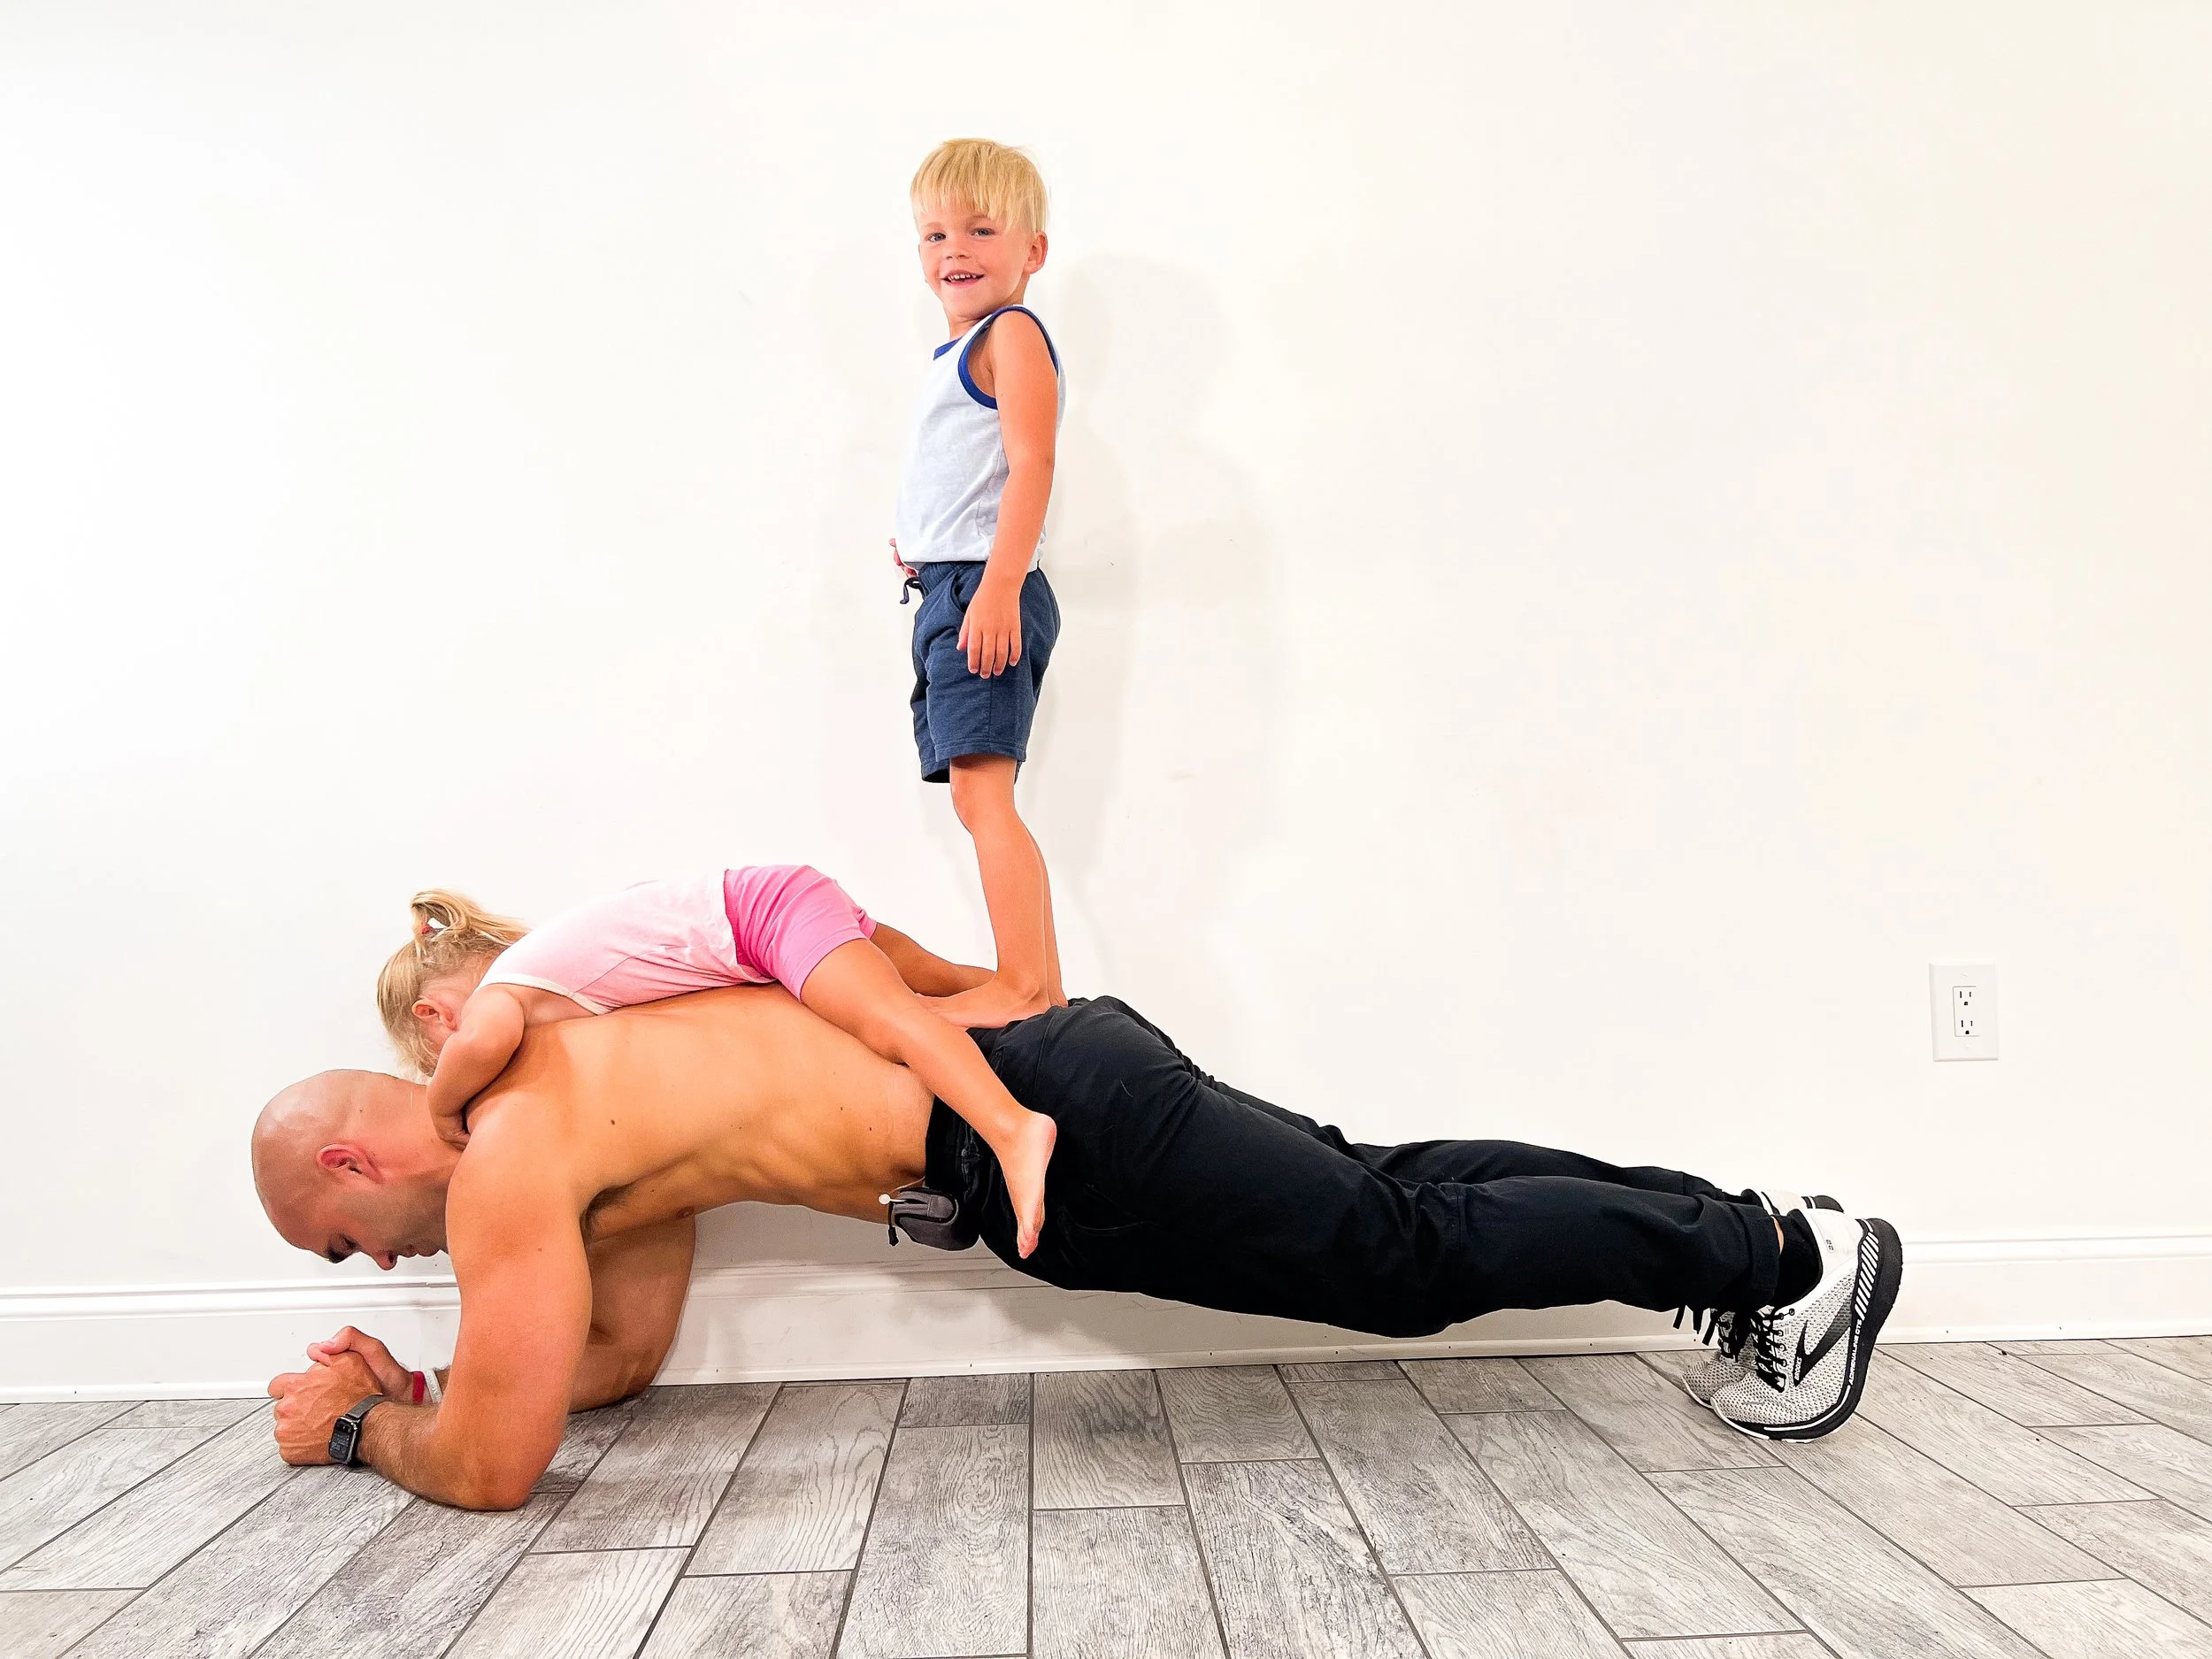
Most people think of the plank as a front-of-body exercise, but the core wraps all the way around to your back. Planks strengthen both at the same time, which makes them one of the best things you can do for lower back support. If your shoulders and wrists allow it, aim for multiple sets throughout the day.
- Begin face down with your forearms and toes on the floor, elbows directly under your shoulders.
- Engage your abs and draw your navel toward your spine.
- Keep your body in a straight line from ears to heels. No sagging through the hips, no lifting through the glutes.
- Hold for 10 seconds to start. Work up to 30, 45, or 60 seconds over time.
Glute Bridge
The glute bridge works the hamstrings, lower back, abs, and glutes together without placing any compressive load on the spine. It is one of the best options for people who cannot squat due to back, hip, or knee pain, and it translates directly into better lower back support in everyday movement. We do these in class regularly, often with a weight across the hips.
- Lie on your back with your knees bent and feet flat on the floor, arms at your sides.
- Press through your heels and lift your hips toward the ceiling, tucking your pelvis slightly at the top.
- Squeeze your glutes at the top and hold for 5 to 10 seconds.
- Lower your hips back to the floor with control.
- Repeat for as many reps as comfortable. Add a weight across your hips to progress.
Foam Rolling for Lower Back Pain
Foam rolling the muscles around the lower back, specifically the glutes, hamstrings, and thoracic spine, can reduce tension that pulls on the lumbar region. Roll slowly, pause on tender spots for 20 to 30 seconds, and avoid rolling directly on the lumbar vertebrae themselves. The surrounding muscles are the target, not the spine.
Start with the glutes. Sit on the foam roller, cross one ankle over the opposite knee, and lean into the crossed side. This is often where the most tension lives and releasing it can provide immediate relief in the lower back.
Our Favorite Tool for Psoas Release
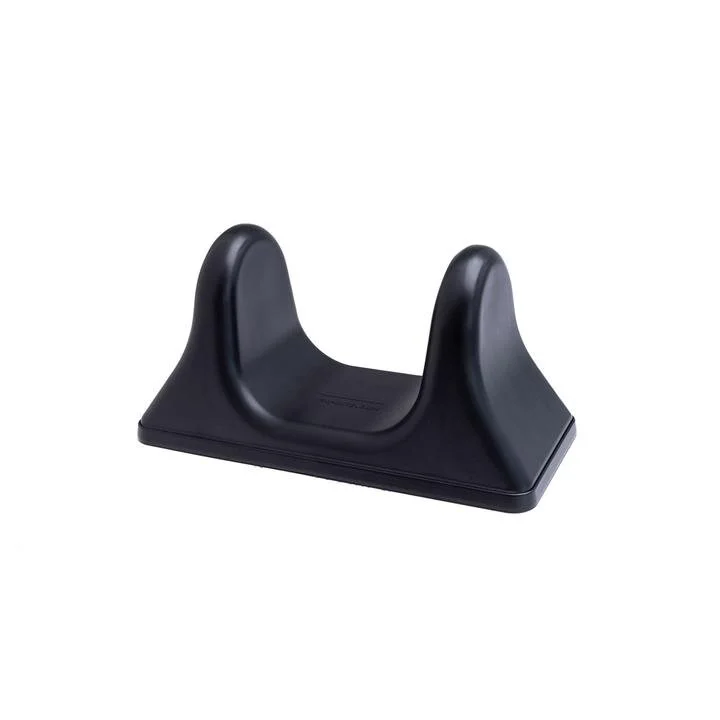
Pso-Rite Psoas Muscle Release Tool
The psoas is one of the deepest muscles in the body and nearly impossible to stretch effectively on your own. The Pso-Rite is designed specifically to access it. You use your own body weight to apply pressure to the psoas and surrounding hip flexors, releasing tension that is almost impossible to get at any other way. It is not comfortable the first few times, but the relief it creates in the lower back is unlike anything else. This is the single tool I recommend most often to members dealing with chronic lower back tightness.
Pso-Rite on AmazonWant to move pain-free and actually feel strong? Siwicki Fitness classes are built around real movement, strength, mobility, and conditioning designed around the life you actually have.
Start Your Free Week